Photopea is a free photo editor you can use online directly from your browser. It is almost as powerful as Adobe Photoshop. Not only will it be able to edit raster images and save it as PSD, but also vector graphics with support AI, XCF, and Sketch files.
In this article, I will show you how to perform a quick adjustment on the colors and luminance in one photo with reference to another photo. With one simple click, you can make the tones and colors look more like any other image.
First, go to Photopea and follow the steps below:
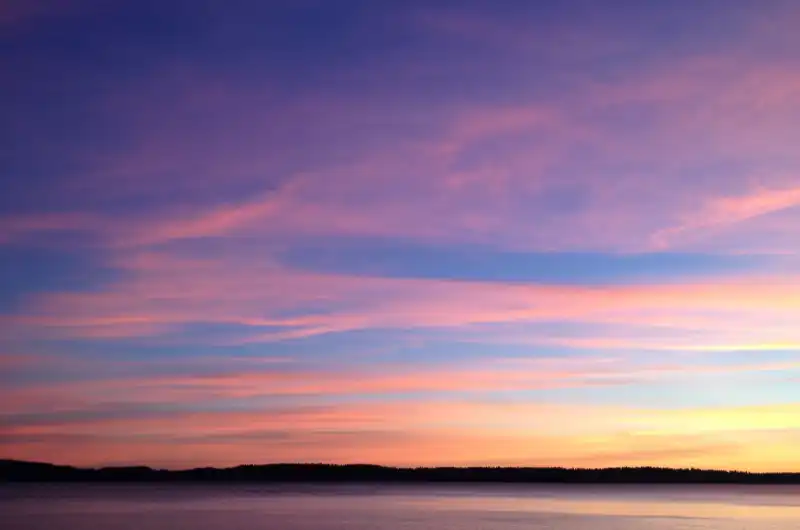
- Drag and drop your background image (the reference image) to your browser.
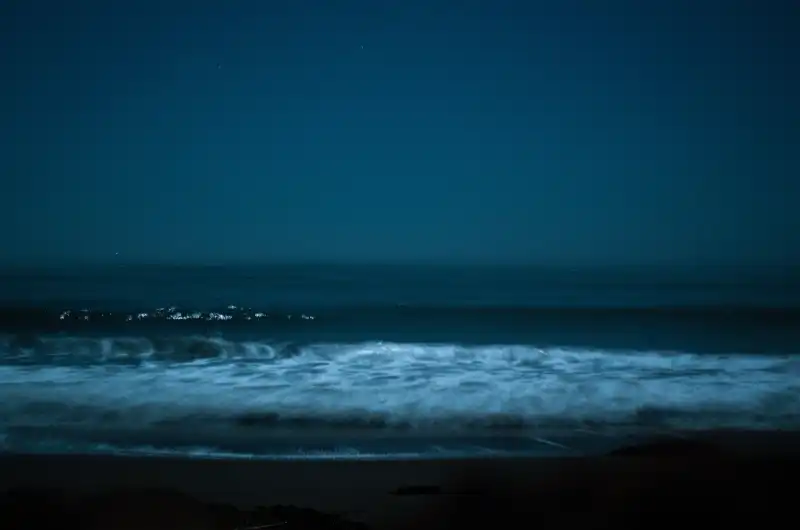
- Drag and drop your photo you want to edit on top of the background image, and then click the “Check Mark” button to confirm.
- Right-click on the top layer and select “Rasterize.”
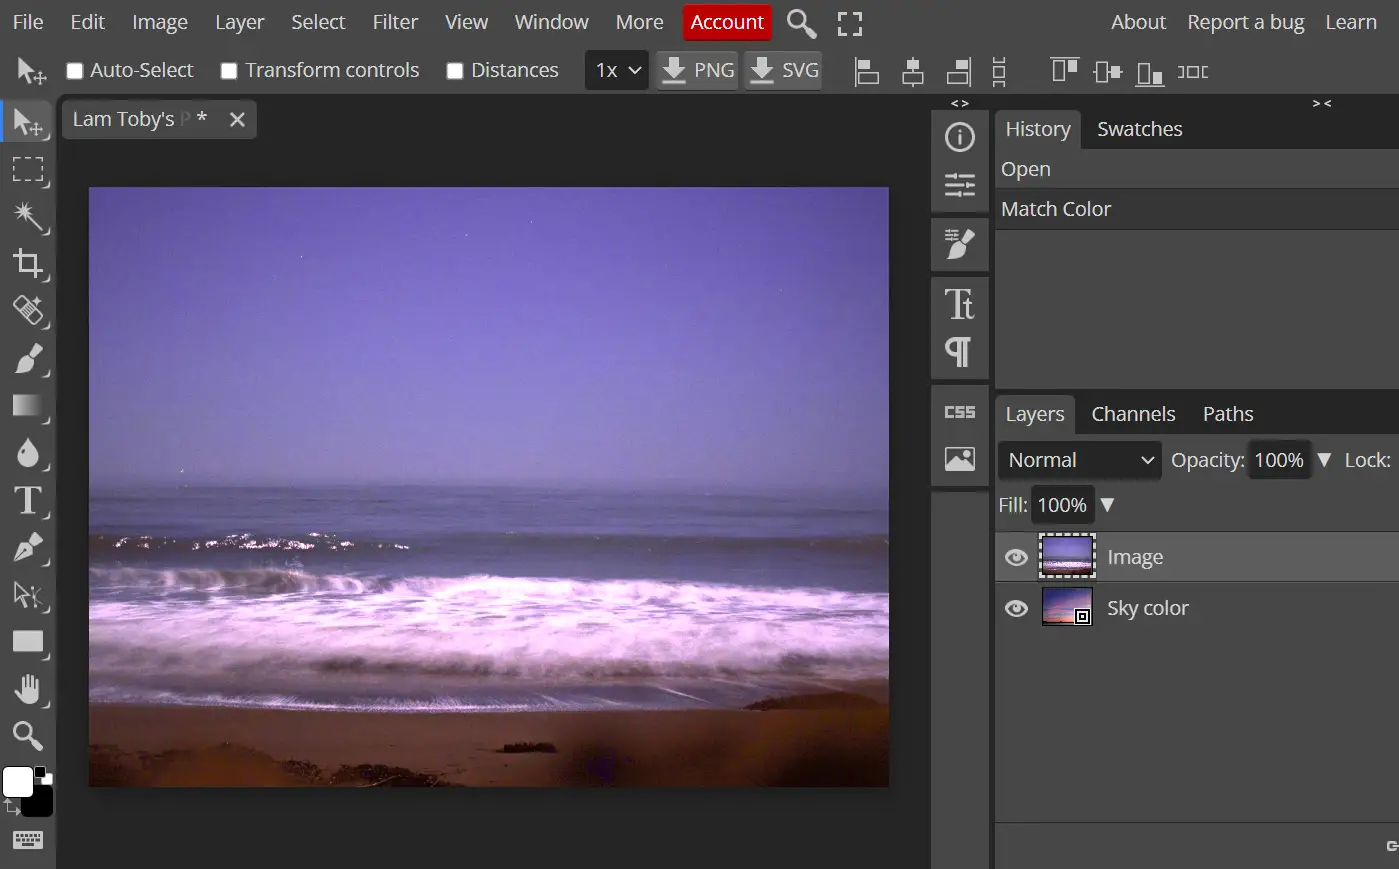
- From the Image menu, select Adjustments > Match Color.
- Select the name of your background image from the Source’s drop-down menu.
- Select the name of your photo layer from the Layer’s drop-down menu.
- Keep the “Preview” checkbox enabled and adjust the luminance and color intensity freely to fine-tune the result.
- When you are happy with the result, click the “OK” button.
You will see that the colors from the background have been applied to your photo.