In this article, I will show you how to change any photo or image into a vector image (e.g. JPG to SVG, or PNG to SVG) using a tool called “Inkscape.” It’s a 100% free and open-source vector graphics editing software that allows us to create scalable vector graphics (SVG) formed by various lines and shapes. The benefit of vector graphics is that you can enlarge the image however you want without losing quality. It is the most ideal format if you are going to print it out as a poster or wall art.
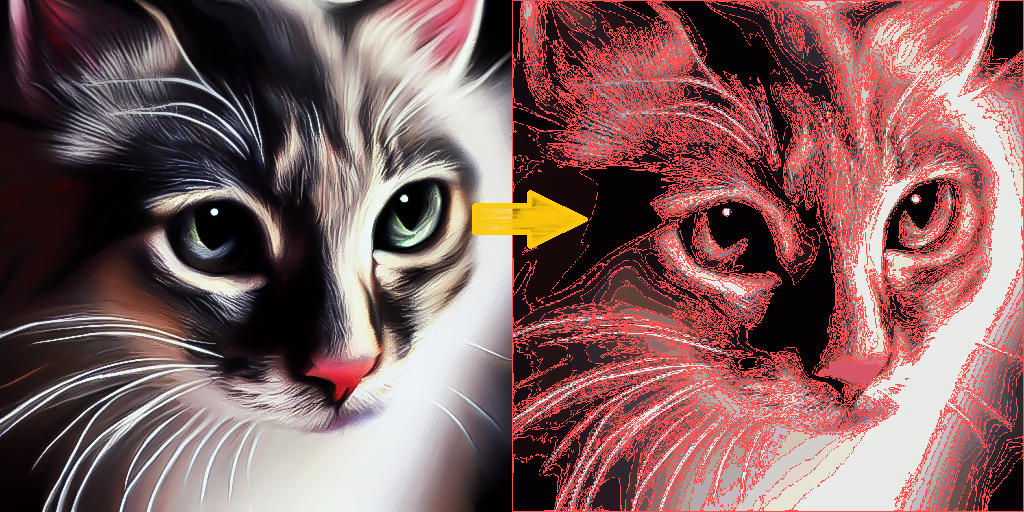
Here, I will use a digital cat drawing as an example. If you have tried any of the online image vectorizers find on the Internet, you will probably encounter the following issue. The generated vector image is not good enough. There may be gaps in-between and there is not much control of the number of colors and rendering methods within the online interface or application, let alone the privacy issue that you are not aware of.

Step 1: Download and Install Inkscape
Google “Inkscape” and you will probably find the download link in the first result, or you can simply click here: https://inkscape.org/release/
Step 2: Drag and drop your image into the Inkscape shortcut
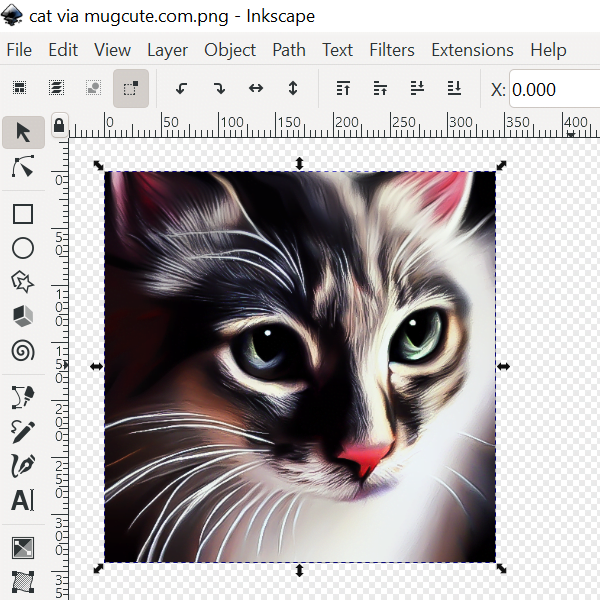
Step 3: Select the image once it is opened in Inkscape
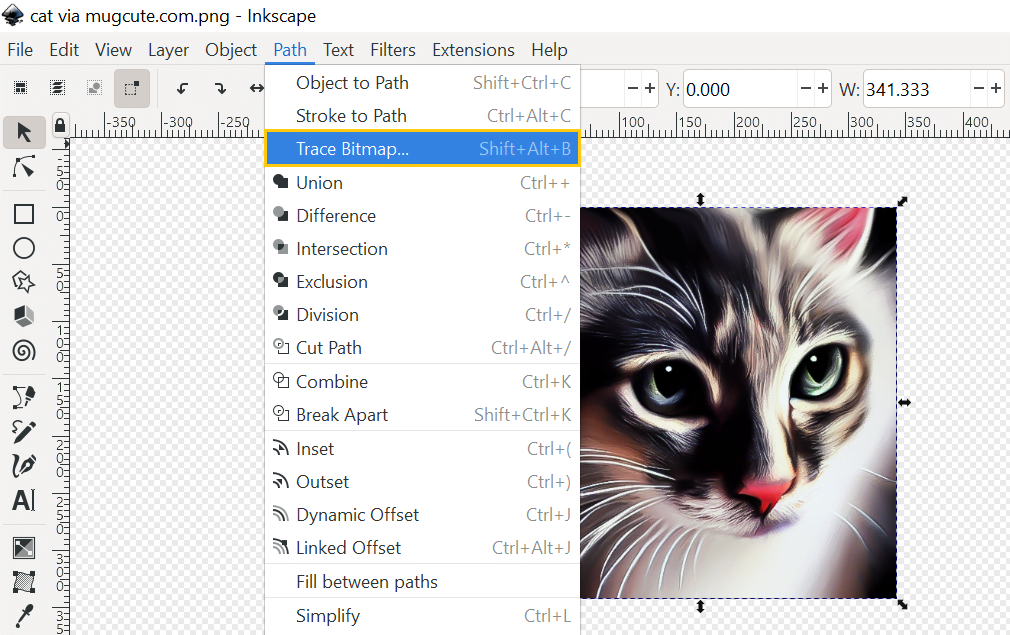
Step 4: Open the “Trace Bitmap” panel
Step 5: Setup and preview the result
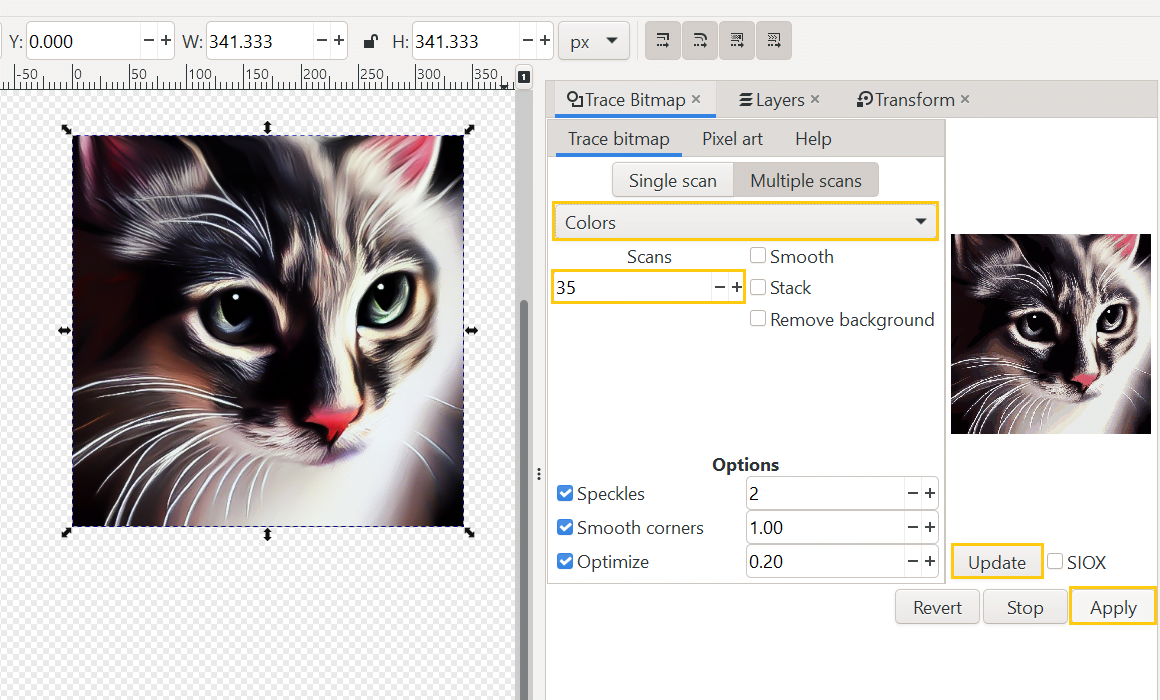
- Select the “Multiple scans” tab
- From the dropdown menu, choose “Colors”
- Increase the scan values for more details and colors depending on your picture
- Click the “Update” button to preview the result
- Click the “Apply” button when you are happy with it
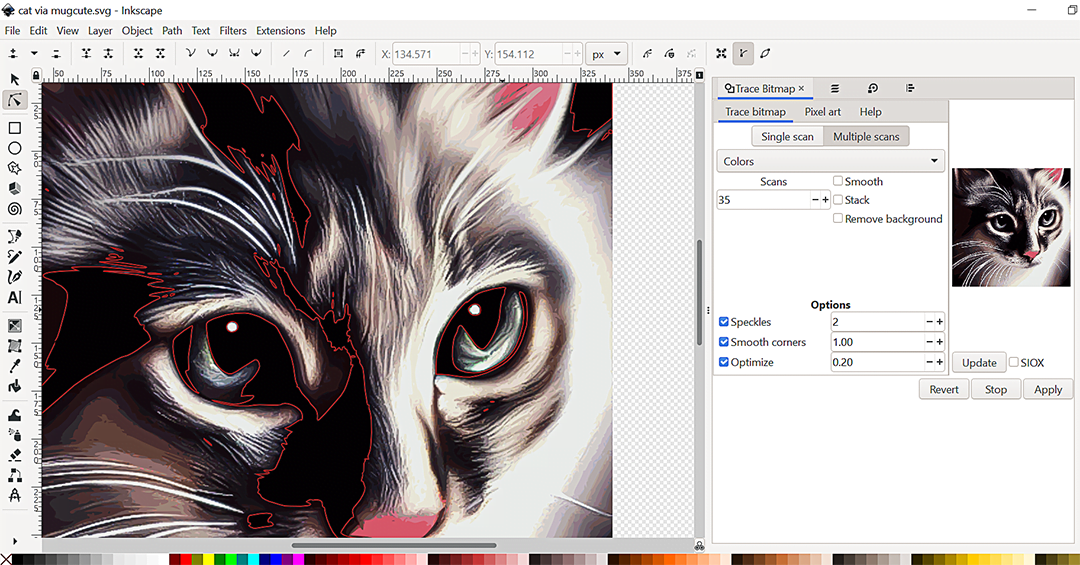
Step 6: Edit the rendered path (optional)
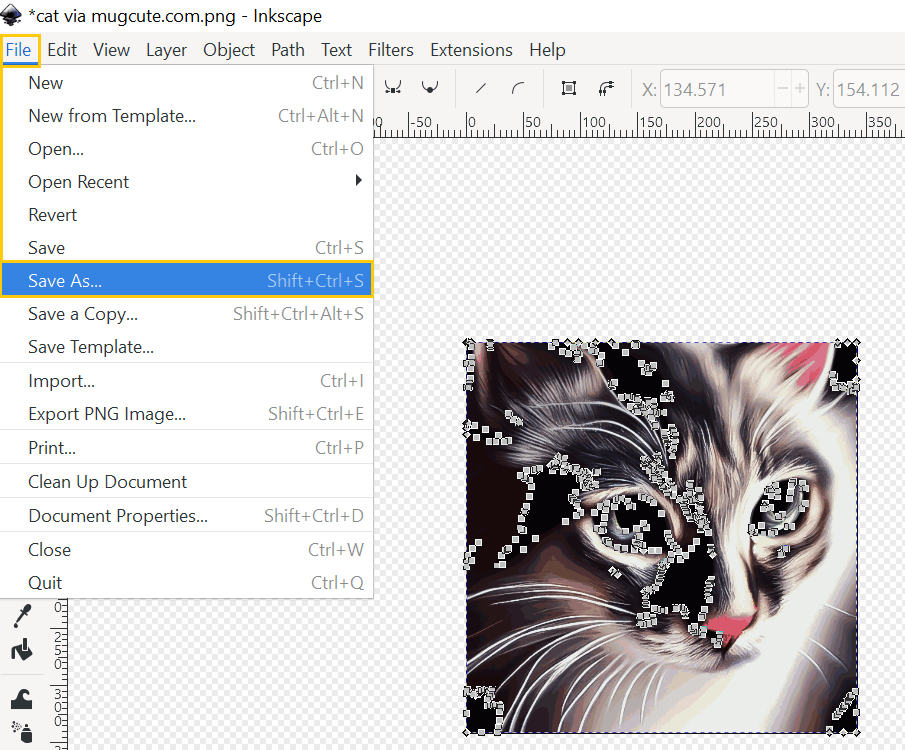
Step 7: Save the file in SVG format
Hope you find it helpful. Let me know if you have any questions; I would love to help further. If you are looking for speedy, high quality and well-priced work from a professional photo editor, check out more of the photo editing services available here.
Free icons Free online tools Free photoshop brushes Free poster templates Free textures Free vectors JPG to SVG NFT Photo editing Photopea tutorial Photoshop tutorial
Thanks.